Baby Baseball Cap/ Free Sewing Pattern + Tutorial
 |
| Children's baseball cap with bear ears, elastic at the back of the head and appliqué on the front |

1. Print a pattern sheet with a test square.

2. Measure the sides of the square.

3. Print the remaining pattern sheets.

4. Assemble the pattern sheets in two rows and three columns.

5. The colors and numbers in the corners of the sheets should match.

6. Cut off the edges of the paper sheets along the black dashed lines. Then assemble pages together, and use sticky tape.

7. Copy all the details of the cap pattern.

8. If your baby is 12 to 36 months old, extend the details of the pattern by1/4 inches (0.5 cm) on each side. Extend both the top and bottom by 1/8 inches (0.3 cm). The dimensions of both visors and the bear's ears remain the same. The sweatband extends by 5/8 inches (1.5 cm). Extend the elastic by 3/8 inches (1cm).

9. My materials.

10. Plastic for visor.

11. Fold in half the blue fabric. The right side of the fabric is inside.

12. Place on the fabric and then pin back, side, visor, and bear ear patterns.

13. Cut around the paper pattern and get two blue bear ears.

14. Get two blue visors.

15. Get two blue back panels.

16. Get two blue side panels.

17. Cut out two blue bear ears again.

18. Cut one blue front panel from one layer of fabric.

19. Fold the white fabric in half, the right side of the fabric inside. Then cut out two white side panels.

20. Then cut out two white back panels.

21. Then cut out one white front panel.

22. Then cut out one white sweatband piece.

23. Then cut out one sweatband piece from the flannel fabric.

24. Fold the fusible interfacing in half, the glue side inside. Then cut out two visor pieces from the fusible interfacing.

25. Then cut out two front panels from the fusible interfacing.

26. Then cut out one plastic visor from the light blue plastic.

27. Ear pleat - pin both sides together. The pleat is marked on the wrong side of the ear.

28. Sew together.

29. There are two pairs of ears. Put the ears with the right sides together in each pair.

30. Pin the top edge together.

31. Sew together.


33. Turn to the right side out and top stitch along the sewn edge.

34. The ear placement is marked on the right side of the side panel.

35. Pin to the side panel.

36. Sew to the side panel.

37. View from the wrong side

38. Both front panels - fuse interfacing to the wrong side of the fabric.

39. The right side of the blue front panel - the applique is fused in the middle.
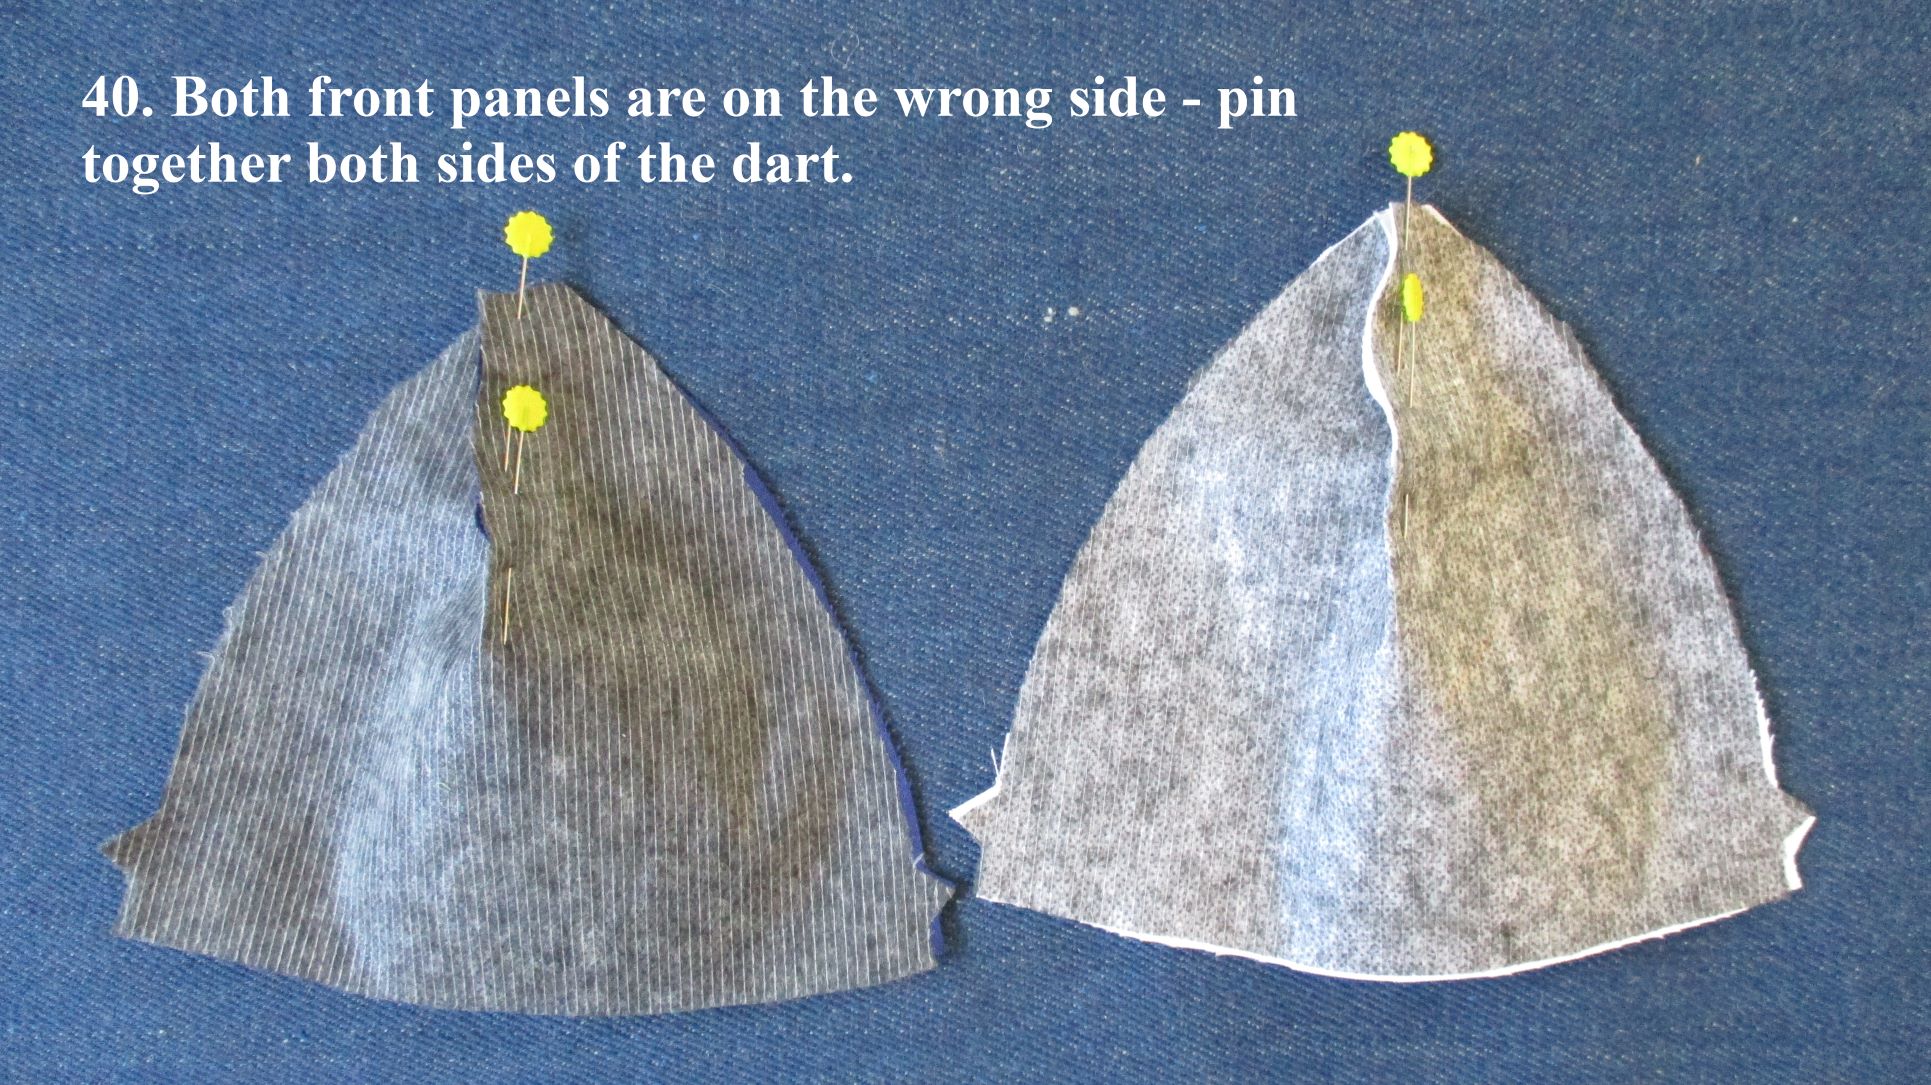
40. Both front panels are on the wrong side - pin together both sides of the dart.

41. Sew the sides of the dart together.

42. Place the blue panels of the cap so that the wrong sides are facing you. In the middle is the front panel. Next to it are side panels. Then the back panels.

43. It is correct if one notch is against the other one.

44. ... and two notches are against the other two.

45. Place the corresponding white panels on the blue panels. White panels look at you with the right side.

46. Pin the side seams together.

47. Sew the side seams together.

48. View from the right side.

49. Pin the back seam together.

50. Sew the back seam together.

51. Cut off the notches.

52. Open the seam allowances.

53. Pin the twill tape on top of the open seam allowance.

54. Sew twill tape along both sides.
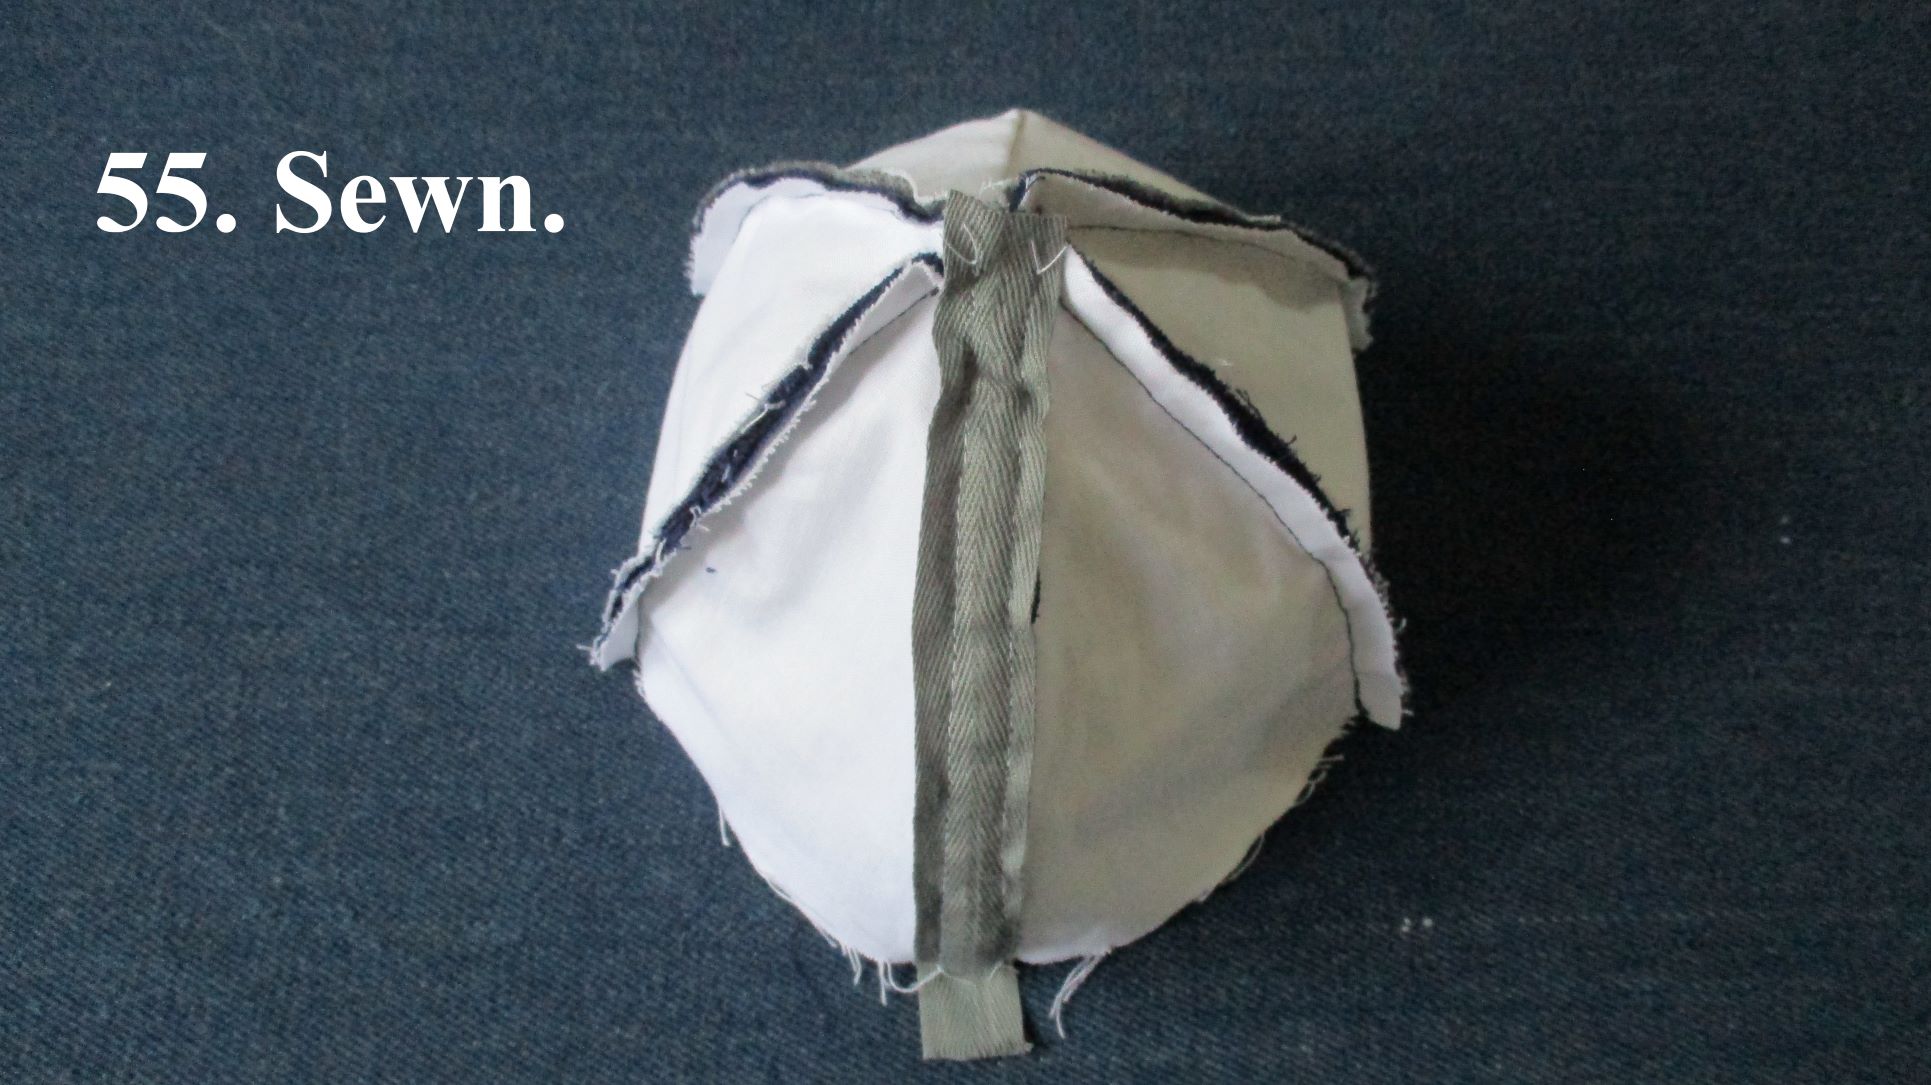
55. Sewn.

56. Then sew the twill tape over the other open seam allowances.

57. Then sew the twill tape over the other open seam allowances.

58. View from the right side.

59. Fuse the interfacing to the wrong side of both blue visors.


61. Pin both visors along the top edge together.

62. Sew together.

63. Snip into the seam allowance.

64. Turn the visor with the blue side out.


66. Top stitch along both curved edges.

67. Take a cap and visor.

68. Pin the bottom edge of the visor to the bottom edge of the front panel.

69. Sew the bottom edge of the visor and the bottom edge of the front panel together.

70. Place the pink flannel sweatband and the white sweatband with the wrong sides together.

71. Along one long edge, both sweatbands are sewn together with an overlock stitch.

72. Fold the sweatband in half so that the pink flannel is on the outside. Then pin both shortest edges together.

73. Sew together.
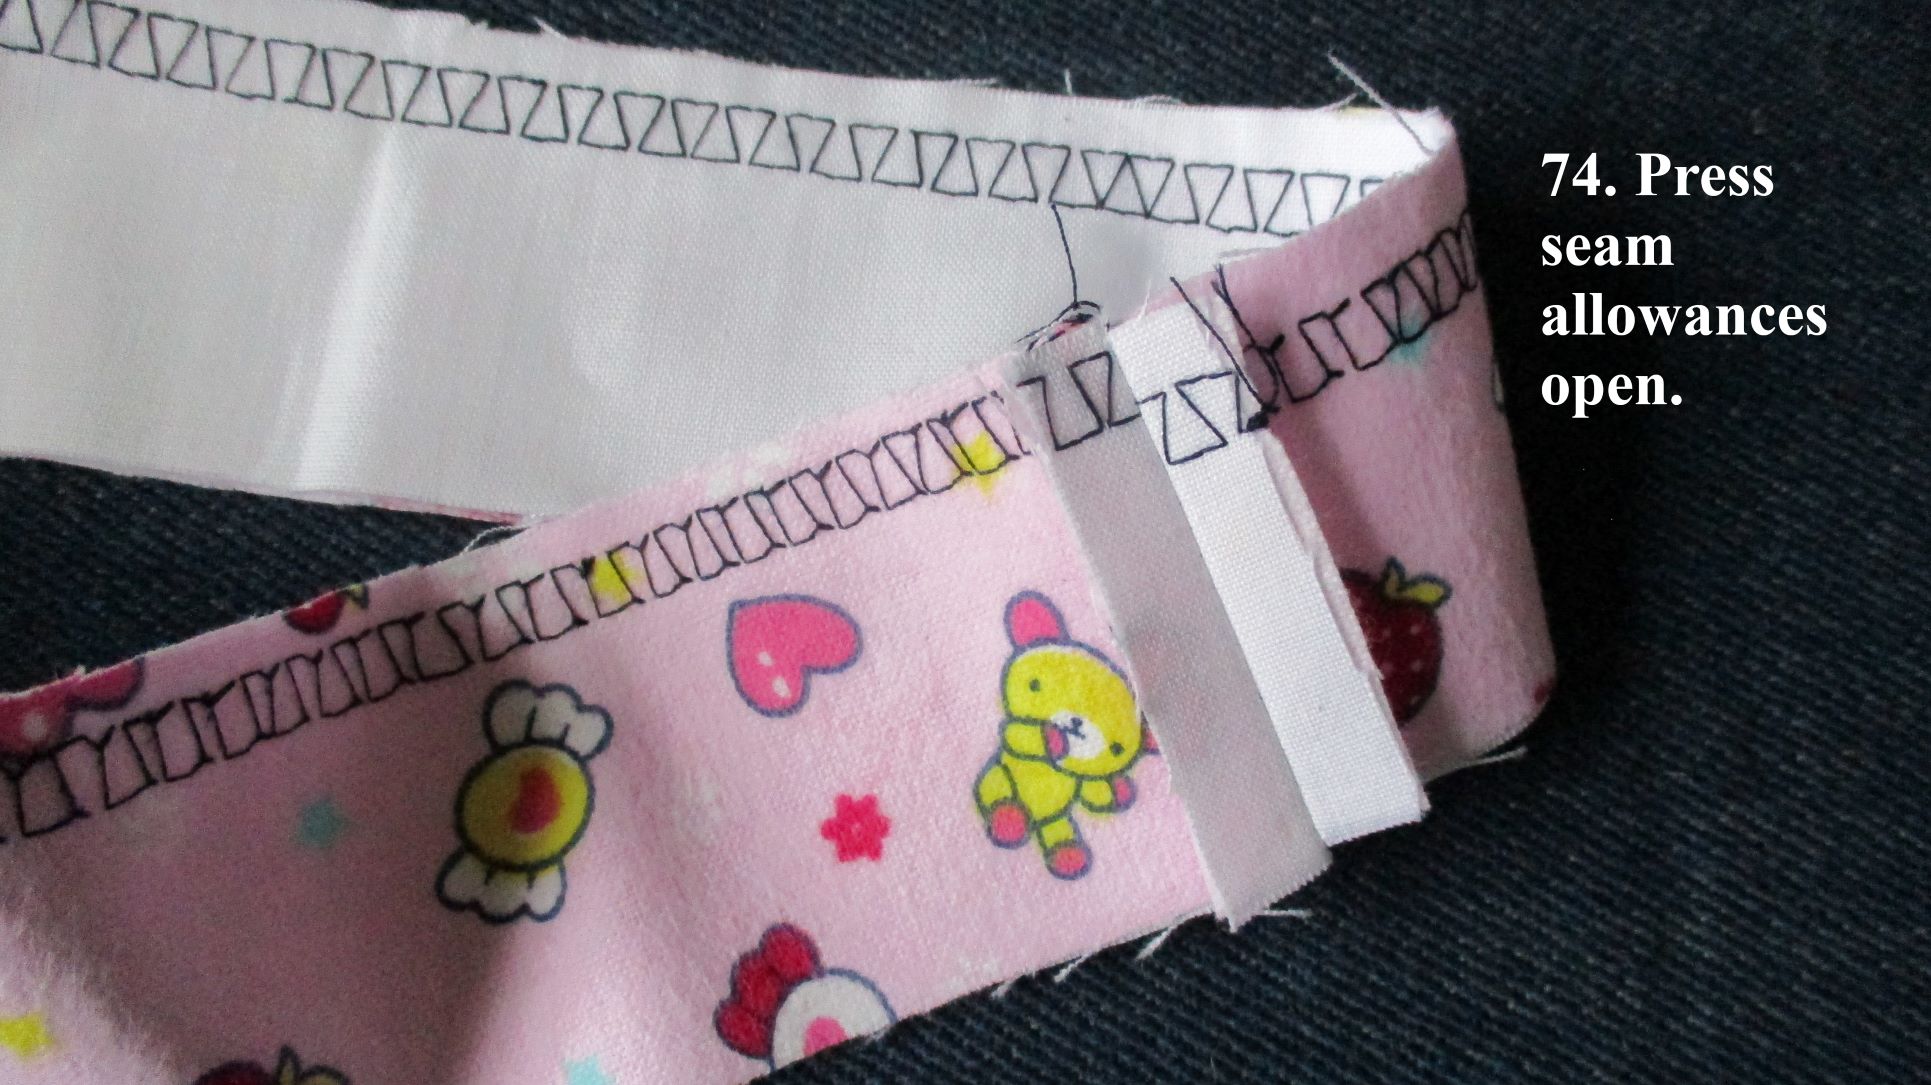
74. Press seam allowances open.

75. Pin sweatband free long edge to the bottom of the cap so that the pink flannel is on the outside. The seam line of the sweatband must match the seam line at the back of the cap.

76. View from the back.

77. Sew together.

78. Pin the twill tape above the sweatband long seam line, but the seam line above the visor is left free.

79. Sew together.

80. Snip the seam allowance at the visor.

81. Fold the sweatband down.

82. The sweatband is folded into the inside of the cap and the top stitch along the edge of the fold.

83. View from the right side.


85. Pin the cap and sweatband together. Pin along the top line of the tunnel.

86. Sew together.

87. Take the elastic.

88. Insert the elastic in the tunnel. Secure the ends of the elastic with pins.


90. Sew a shank button on the top of the cap.

91. The shank button is sewn.

92. The baseball cap is ready to wear.


Comments